irrigation systems diy Gardens

Efficient irrigation systems diy is key to keeping gardens, farms, and landscapes thriving while conserving water. Building your own DIY irrigation system doesn’t have to be complicated or expensive. With the right materials, knowledge, and techniques, you can create a custom watering solution tailored to your needs. This guide explores various DIY irrigation methods, tools, and step by step processes to help you get started.
Understanding irrigation systems diy
Irrigation systems deliver water to plants in a controlled manner, ensuring they get the hydration needed without wasting resources. Whether you’re tending to a backyard garden or a larger plot of land, choosing the right system can save time, money, and water.
Benefits of irrigation systems diy
- Cost Effective: Store bought irrigation systems can be pricey, but building one yourself is affordable and allows customization.
- Water Conservation: A well designed system minimizes waste, making it eco friendly.
- Customizable: Tailor your system to suit the specific layout and needs of your garden or property.
- Ease of Maintenance: Repairs are simpler and cheaper when you’re familiar with the design.
Types of DIY Irrigation Systems
Drip Irrigation
Drip irrigation involves delivering water directly to the base of plants through tubing with small emitters.
Why Choose Drip Irrigation?
- Water is delivered slowly, reducing evaporation.
- Ideal for gardens, raised beds, and potted plants.
- Prevents overwatering and runoff.
Materials Needed:
- Tubing (polyethylene or PVC)
- Emitters
- Hose connectors
- Timer (optional)
Example Setup:
| Material | Average Cost | Purpose |
| Poly Tubing | $15-$30 | Main water delivery lines |
| Emitters (pack) | $10-$20 | Water outlets |
| Hose Timer | $20-$50 | Automates watering schedule |
Soaker Hoses
Soaker hoses deliver water through tiny pores along the horse’s length, ensuring even distribution.
Best For:
- Long garden rows
- Shrubs and hedges
- Flower beds
Installation Tips:
- Lay the hose along the plant rows.
- Attach the hose to a water source.
- Cover the hose lightly with mulch to improve water absorption.
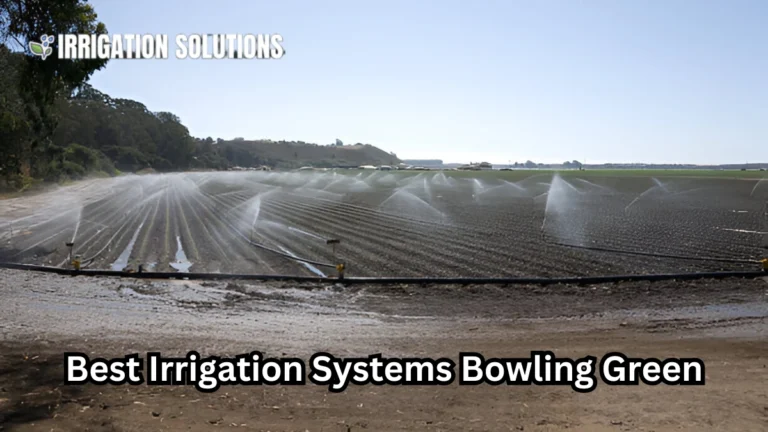
Sprinkler Systems
Sprinklers spray water over a wide area, making them ideal for lawns and larger spaces.
DIY Approach:
- Use PVC pipes and sprinkler heads to create a custom system.
- Install a timer for automated watering.
Rainwater Harvesting with Gravity Irrigation
Gravity irrigation uses collected rainwater to water your plants, making it both eco friendly and cost effective.
Steps:
- Install a rain barrel under your gutter system.
- Connect a hose or drip line to the barrel.
- Use gravity to distribute water through your garden.
Step by Step Guide to Building a DIY Drip Irrigation System
Step 1: Plan Your System
Sketch your garden layout. Mark areas requiring irrigation and decide where to place main lines and emitters.
Step 2: Gather Materials
Refer to the materials list above and purchase items from a local hardware store.
Step 3: Assemble the Main Line
- Connect the main tubing to your water source.
- Lay the tubing along the planned path.
Step 4: Add Emitters
- Punch holes in the tubing where plants are located.
- Insert emitters into the holes.
Step 5: Test the System
Turn on the water to check for leaks and ensure all emitters are working.
Step 6: Adjust and Maintain
Inspect the system periodically for clogs or damage. Clean emitters regularly.
Case Study: Efficient Irrigation for a Vegetable Garden
Background: A homeowner with a 500 square foot vegetable garden struggled with uneven watering and high water bills.
Solution: They installed a DIY drip irrigation system using:
- 50 feet of polyethylene tubing
- 25 emitters
- A hose timer
Results:
- Water usage decreased by 30%.
- Plants thrived due to consistent watering.
- Total cost: $60 (compared to $200 for a store bought system).
Tips for Success
- Use Timers: Timers automate watering, preventing under or over watering.
- Add Mulch: Mulching around plants reduces evaporation and improves water retention.
- Check for Leaks: Regularly inspect and repair any leaks to maintain efficiency.
- Seasonal Adjustments: Adjust your system for weather changes, increasing water during hot months and reducing it in rainy seasons.
FAQs on DIY Irrigation Systems
Q: How do I prevent clogs in drip irrigation emitters?
A: Use a filter at the water source and flush the system periodically.
Q: Can I connect a DIY system to a rain barrel?
A: Yes! Ensure the barrel has sufficient height to provide adequate water pressure.
Q: How long should I water my plants?
A: This varies by plant type, soil, and climate. As a rule, aim for deep watering every few days.
Final Thoughts
Building a DIY irrigation system is an excellent way to ensure your plants get the water they need while saving money and conserving resources. Whether you choose drip irrigation, soaker hoses, or gravity fed rainwater systems, the effort pays off in healthier plants and lower water bills.
Take the first step today and transform your garden into a lush, thriving oasis!